|
|
|
|
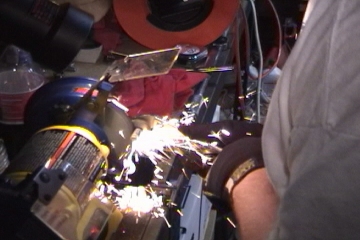
Loosen all of the bolts on one side of the body, and remove the nuts on the other. We started with the driver side first, so our pictures will be in that order. After removing the nuts on the driver side, pull out the middle and rear mounting bolts from the top. Using your vice, place the bolts head-side-down in the open vice, and using a hammer, gently tap the bolts out of the washers (the bolts have teeth that hold the washer on to the bolt to prevent loss). Some bolts will require you to remove the washer, but the threads will be too
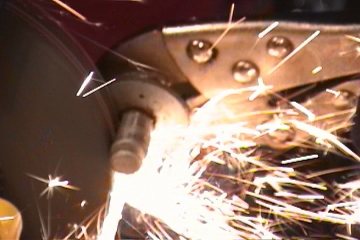
large. Solution: Grind down the threads to allow the washers to fall
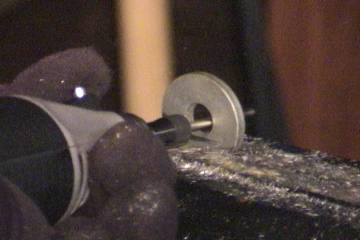
off: With the washers removed, you'll need to hollow out the middle mount washer
to allow the new bolt to be attached. Place the washer in your vice and
using the Dremel's cutting bit, hollow out the washer EVENLY around the inner circumference
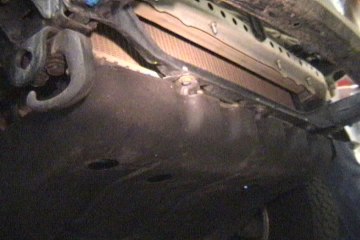
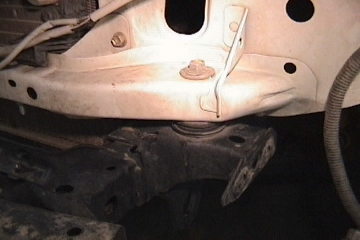
to allow the new bolt to fit through: Remove the front skid plate: Remove the lower fan shroud. For the driver side, loosen the freon tank clamp and slide the tank up to
remove the front cab mounting bolt: Loosen the steering shaft pressure nut from the middle joint to allow the steering geometry to elongate. |