|
|
|
|
Now that you have the cab on, torque all of the mounting bolts to NO MORE THAN 30 ft. lbs.! Any more than that could result in half of the bolt and nut traveling at or near mach 2 directly at you. Take the front bumper mount bolts over to the grinder, and grind off about 1/8" off of the side of the washer. You need to do this because the bumper skirt mounts will overlap the washers. Why try to bend either the bumper skirt mounts or the washers when you can just remove the small amount that overlaps?
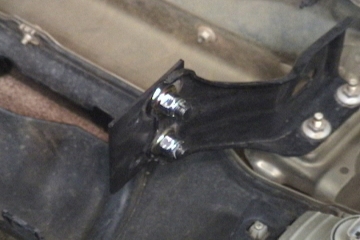
With all 4 washers ground, place the riser brackets onto the bumper. We
put the maximum "rise" on the skirt (we pushed the brackets as far
towards the bottom of the bumper as possible) and it worked fine. Now, put the bumper back on using the stock bolts. Be sure to use the alignment nuts to get it straight. Be sure to tighten the freon tank bracket, as well as replace your skid
plate. You'll discard the lower fan shroud. Tighten your steering
shaft, and with your hands, gently stretch all 4 of your brake lines at the
coiled section. You'll know they are stretched far enough for the rear
(located at the passenger side front wheel well) because the black clips along
the firewall will no longer be strained. The fronts you'll have to
eyeball. You may need to re-align the battery cables to get enough play to
re-attach them. With the cab done, it's time to move to the rear of the truck. |